↑
Nature Moms
Natural Family Living & Homesteading
About This Blog/Blogger
Essential Oils
Advertise
Privacy & Disclosure
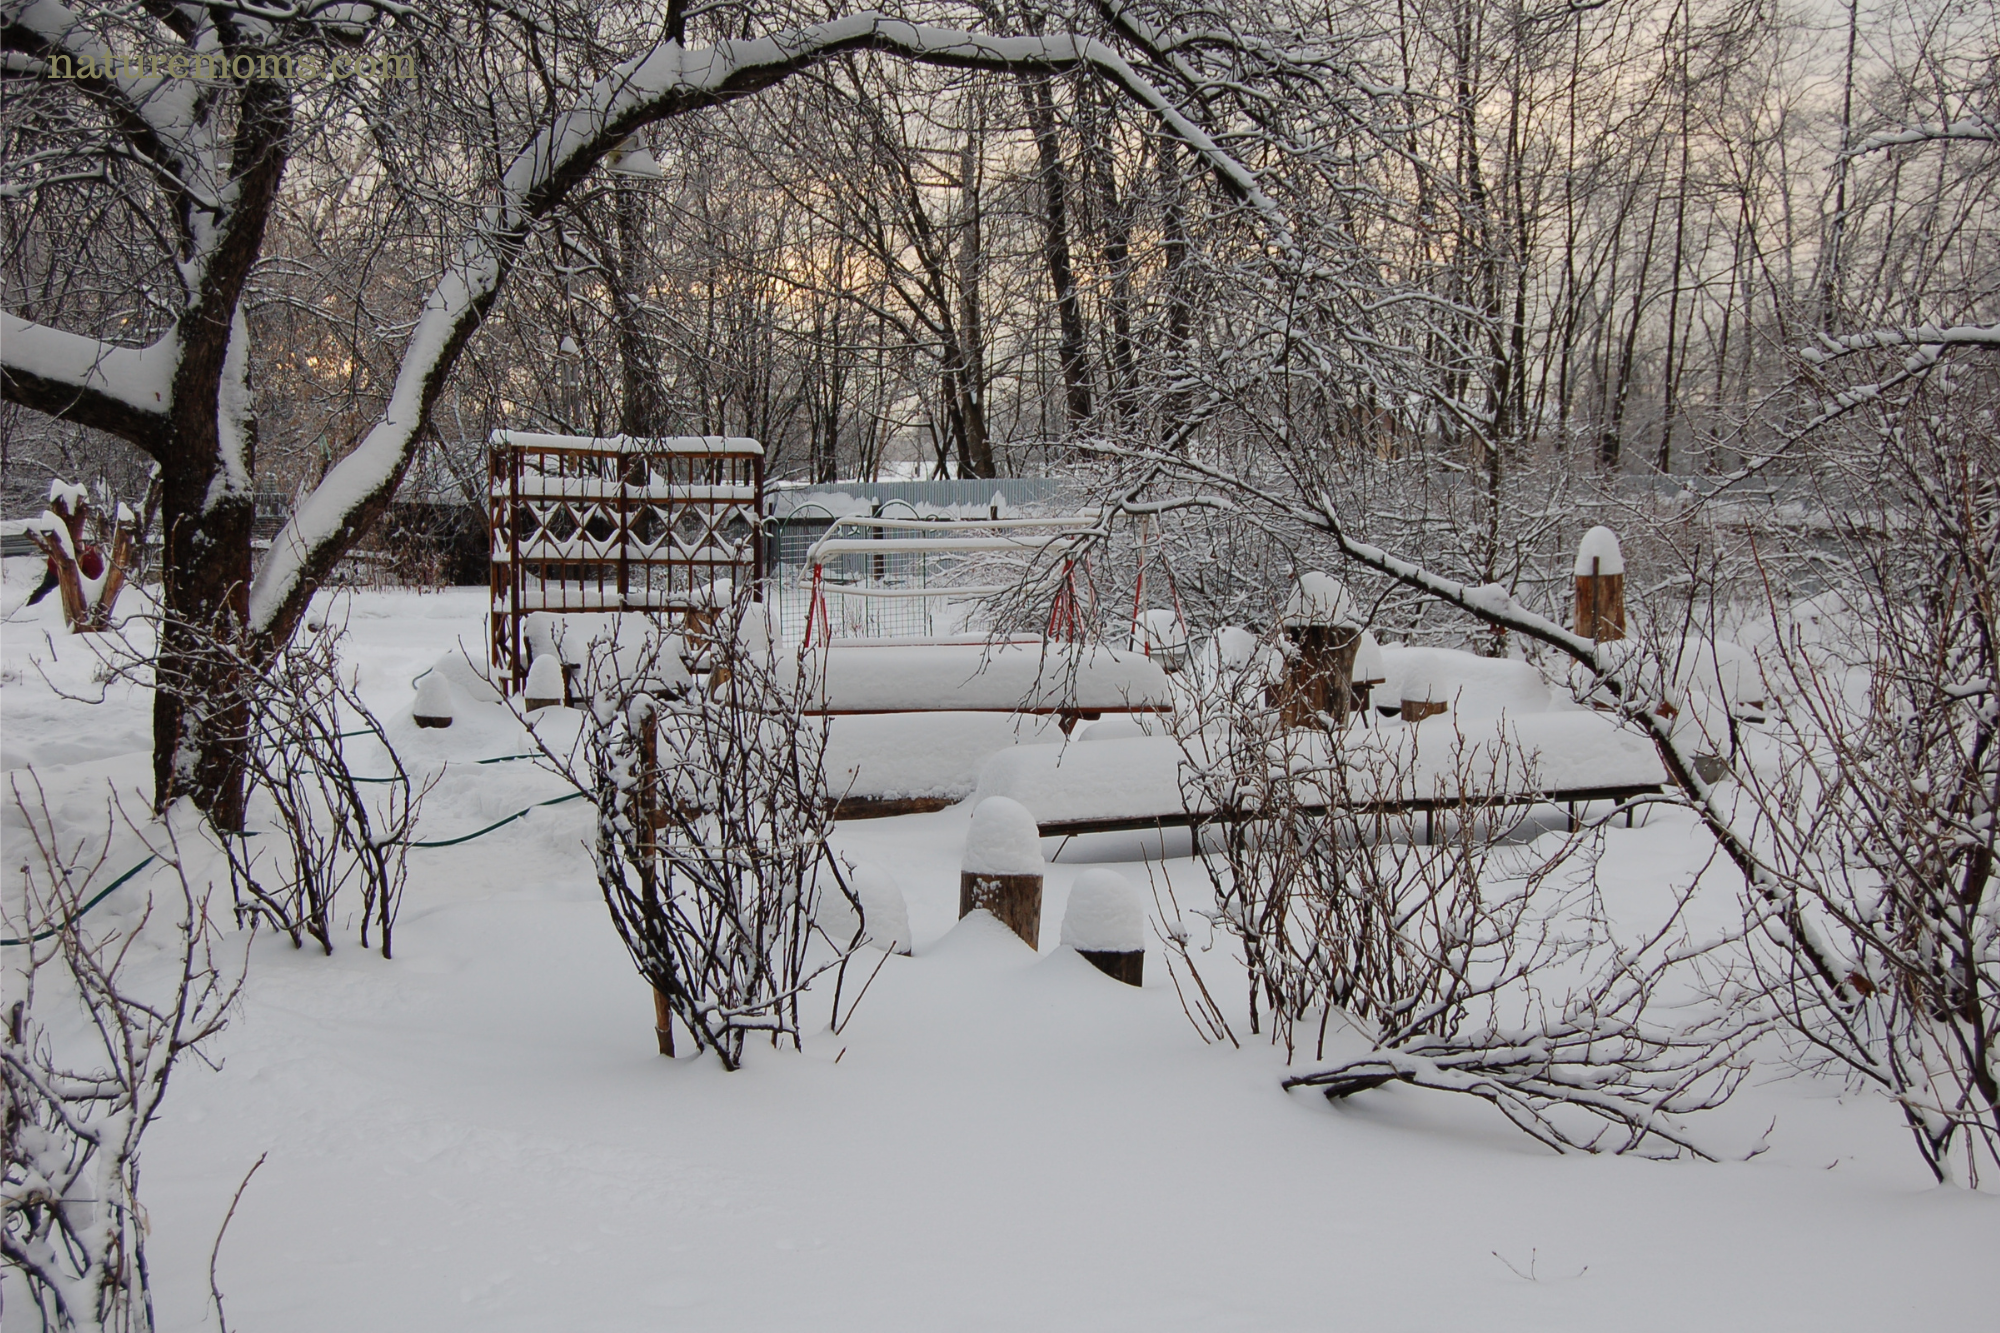
Winter Landscape: Garden and Landscape Design Ideas for Seasonal Beauty
Top 10 Gardening Trends for 2024
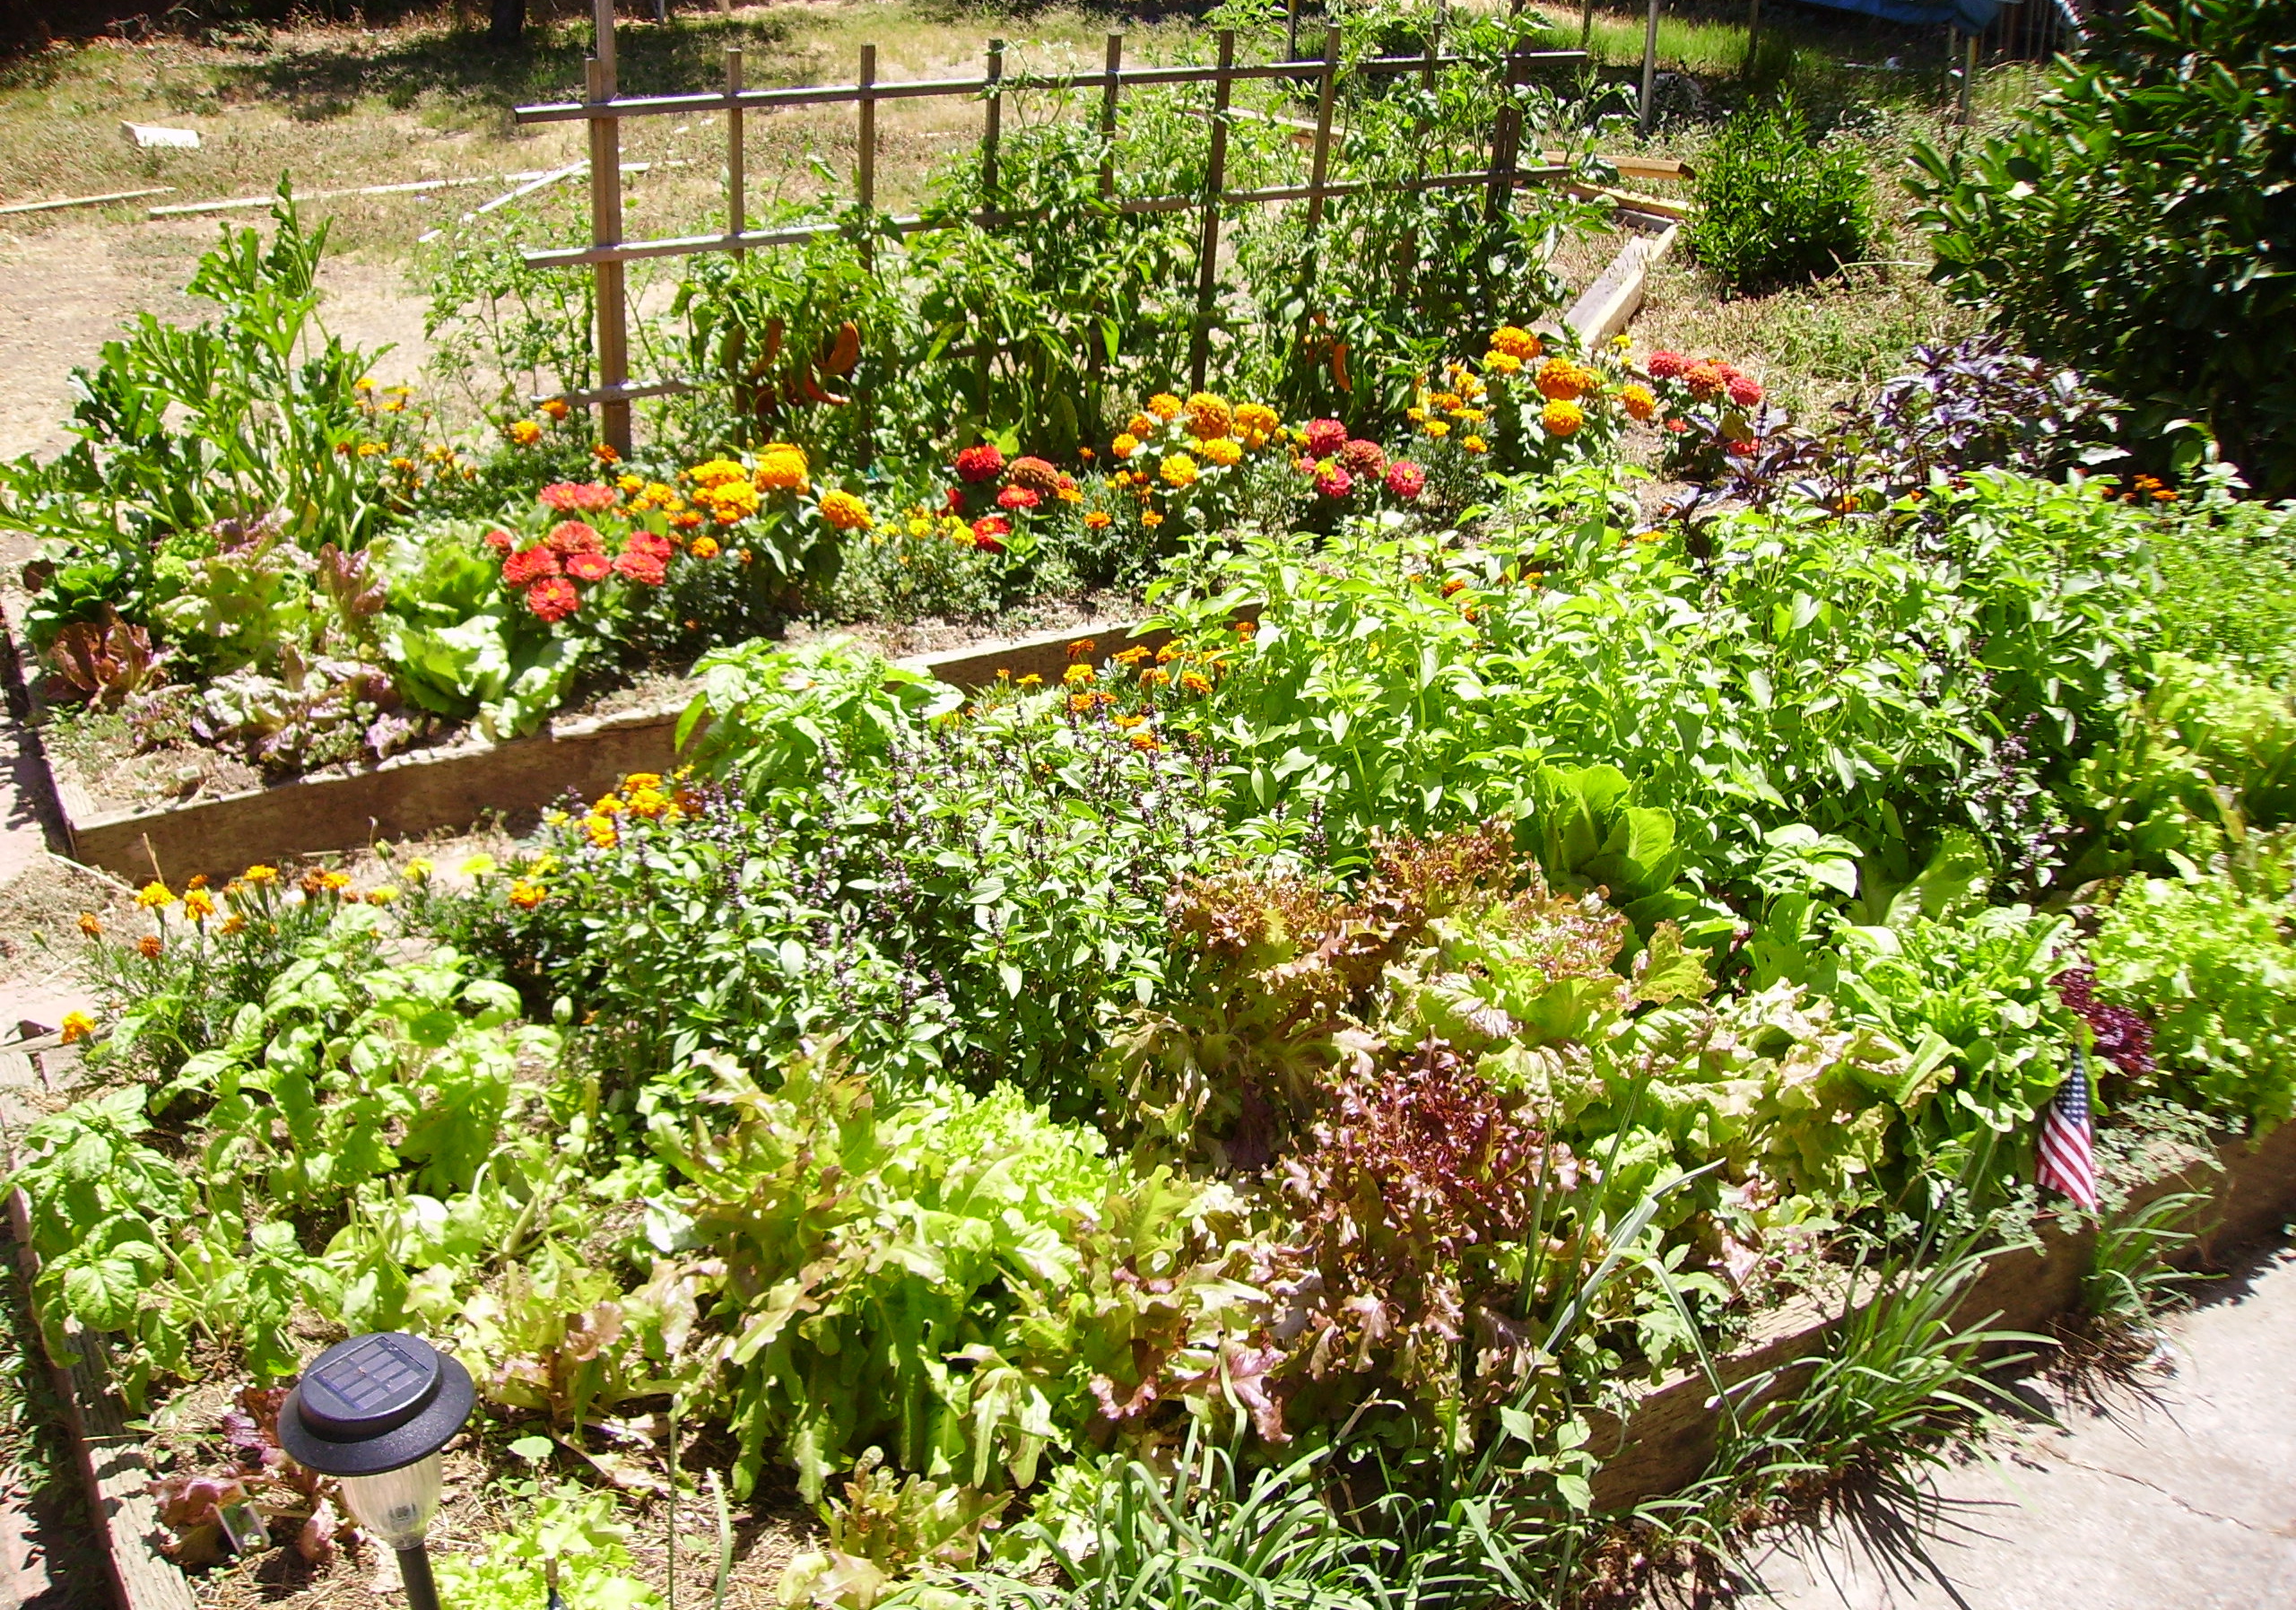
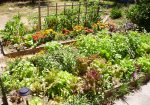
Recharge Your Raised Beds: Fall Soil Revitalization Guide
End of Season Dahlia Tips
The Best Perennials for Transforming Shaded Landscapes
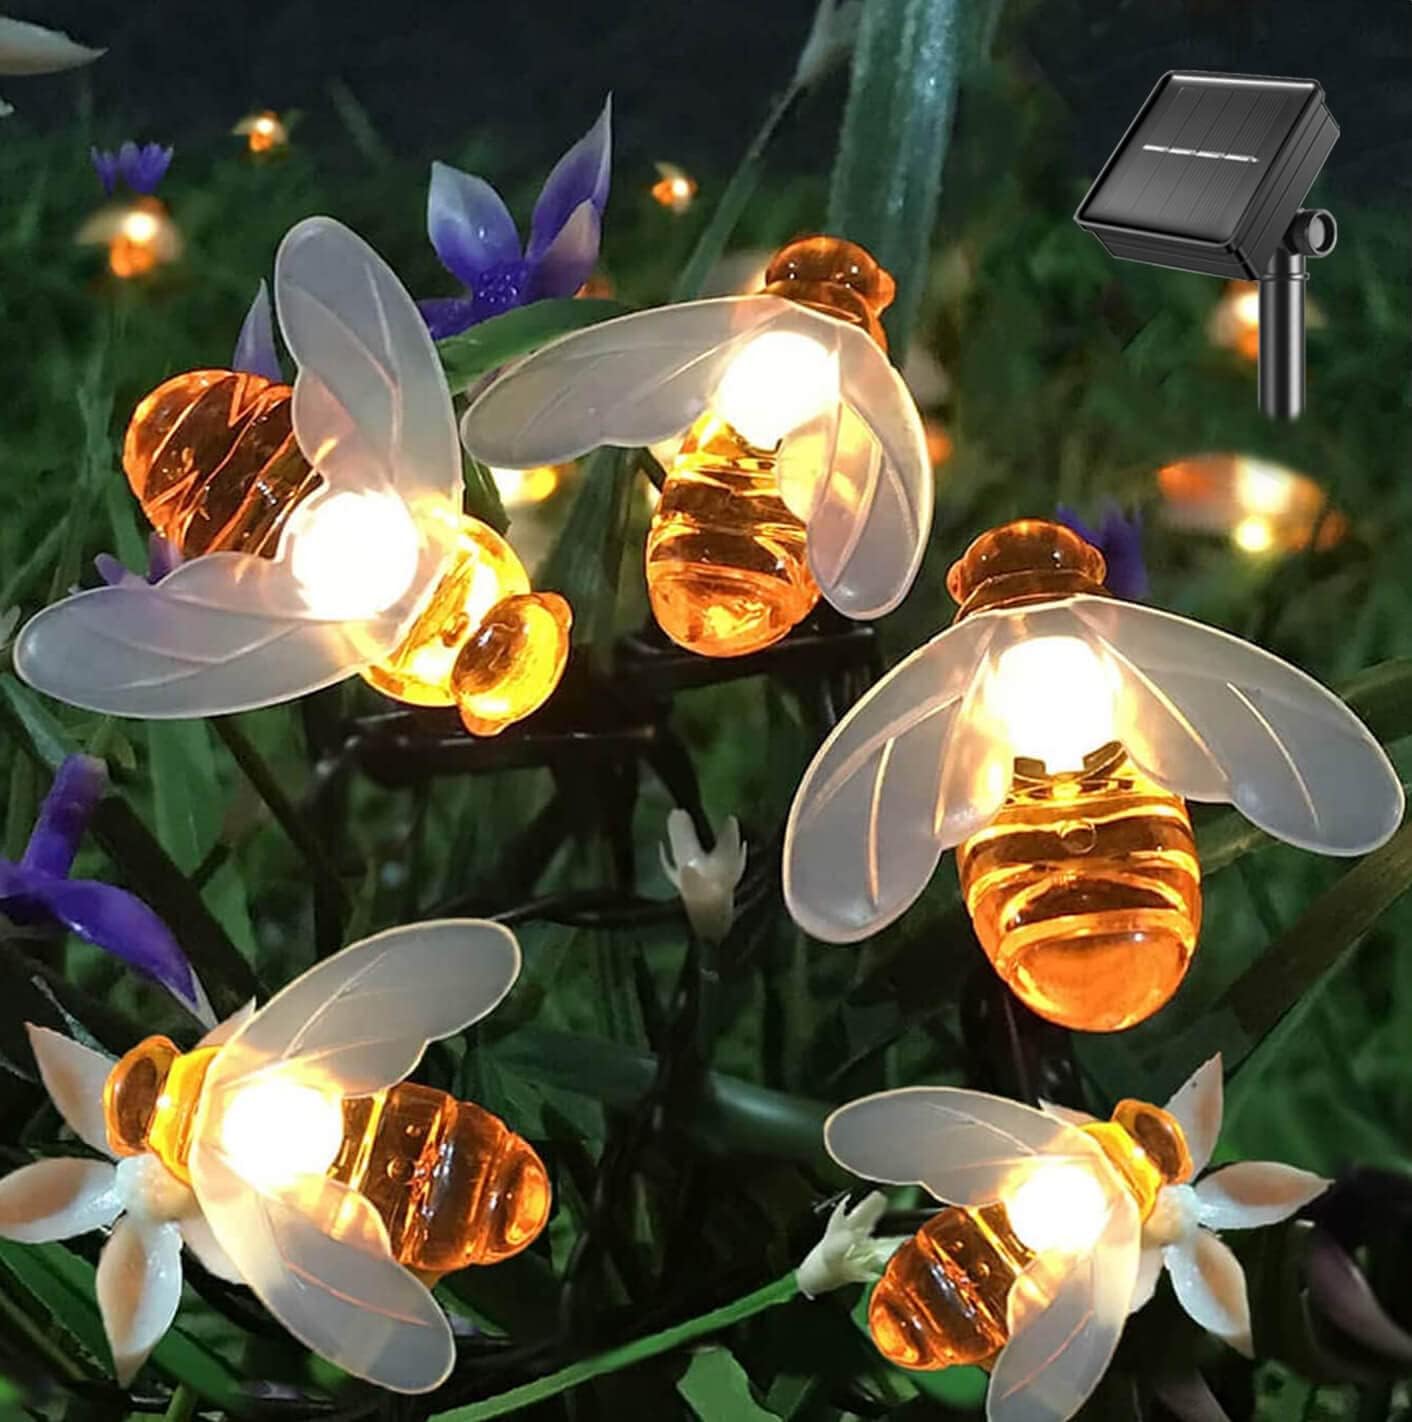
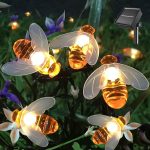
Best Fall Garden Lighting Accents and Whimsical Decor
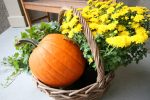
The Top 10 Fall Container Plants and Flowers
Best Cover Crops for Your Raised Beds and Garden
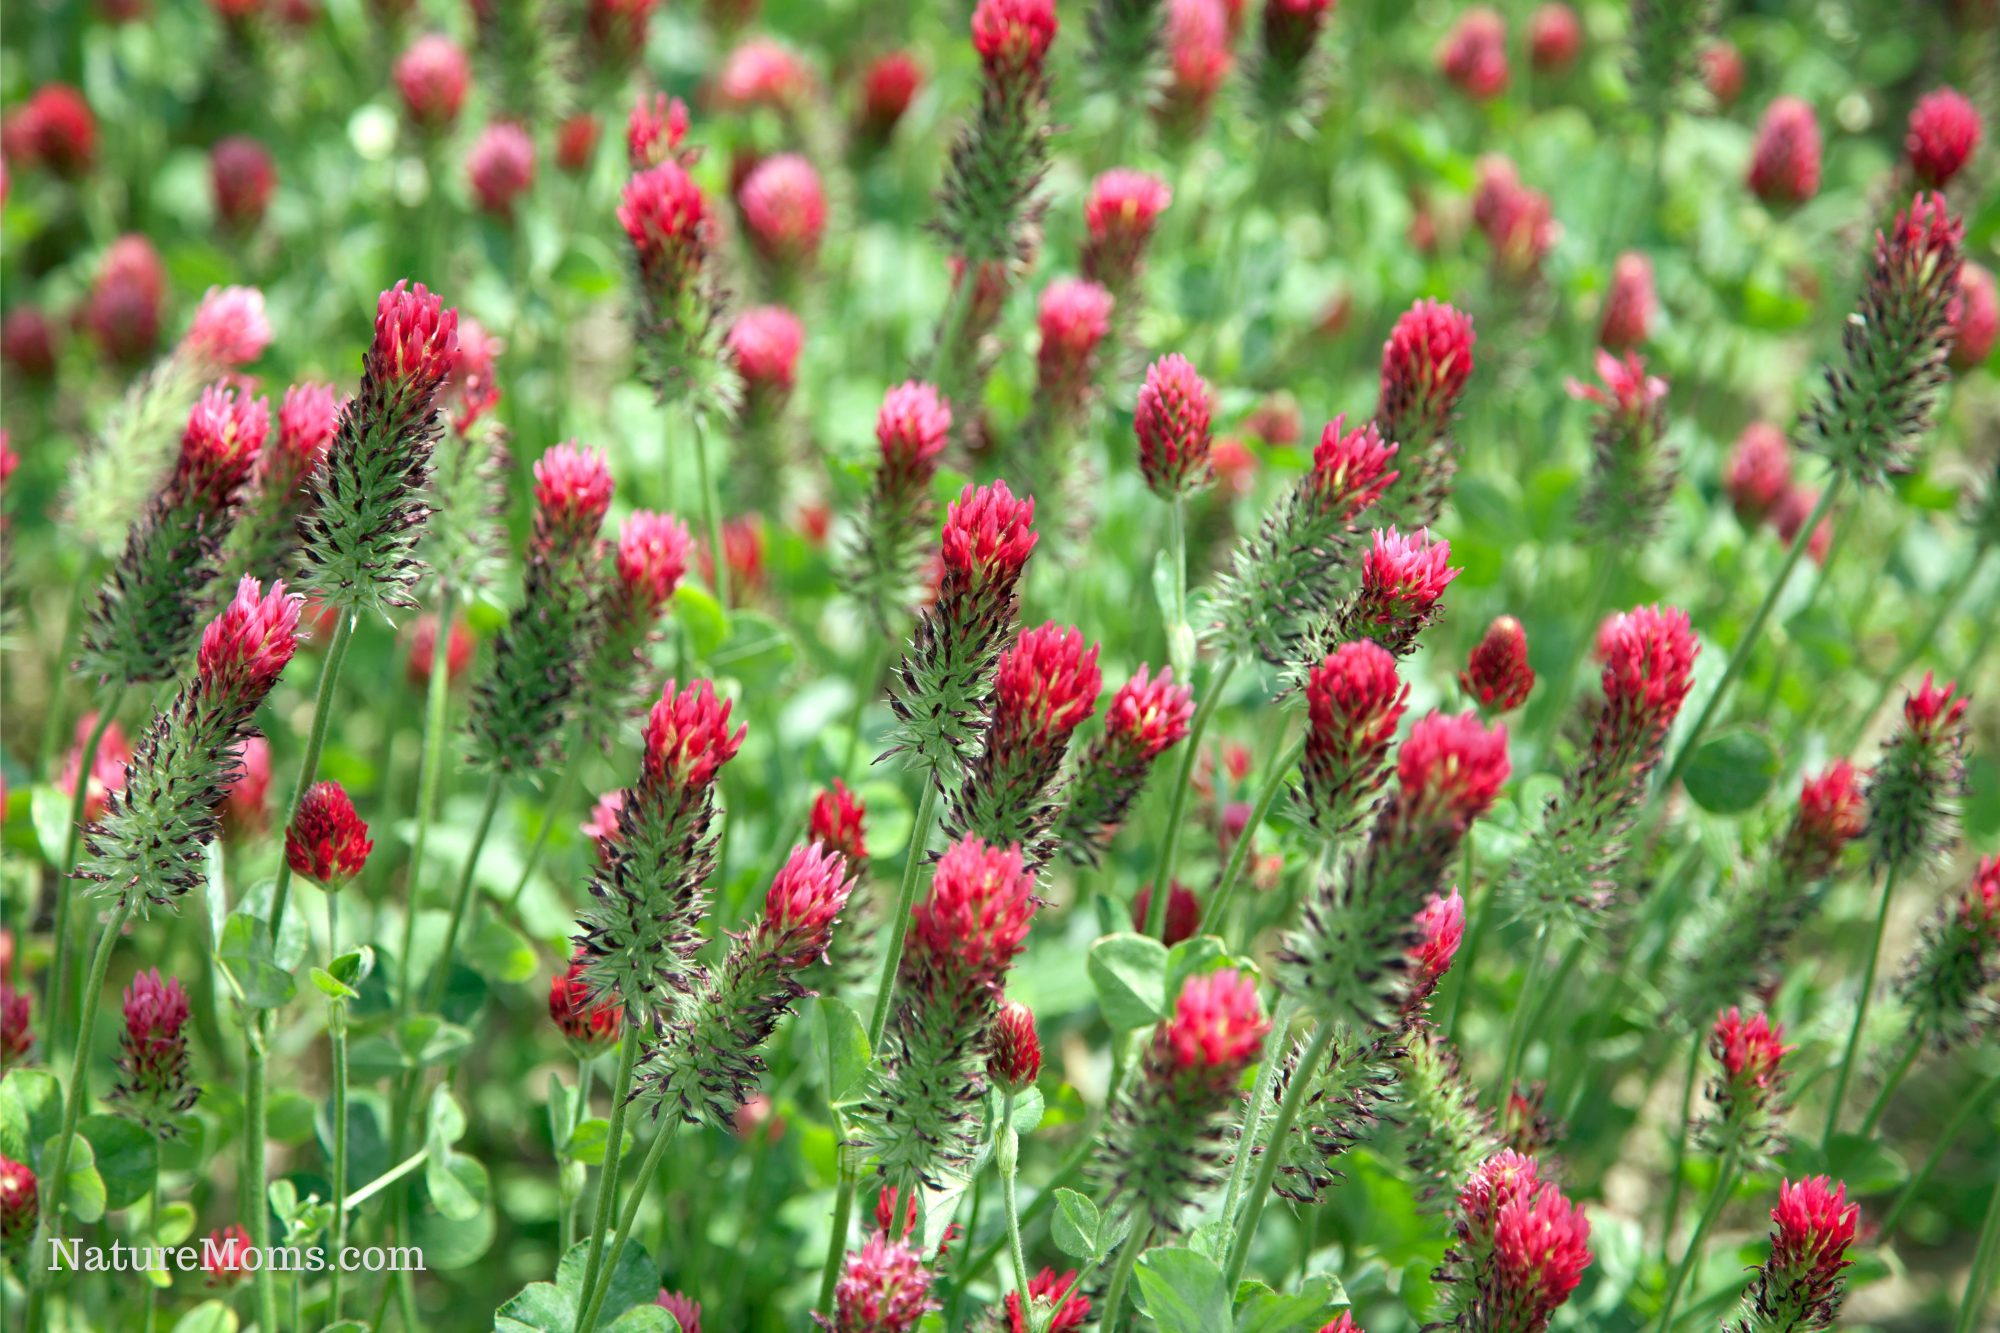
Cover Cropping for Soil Improvement: A Natural Solution
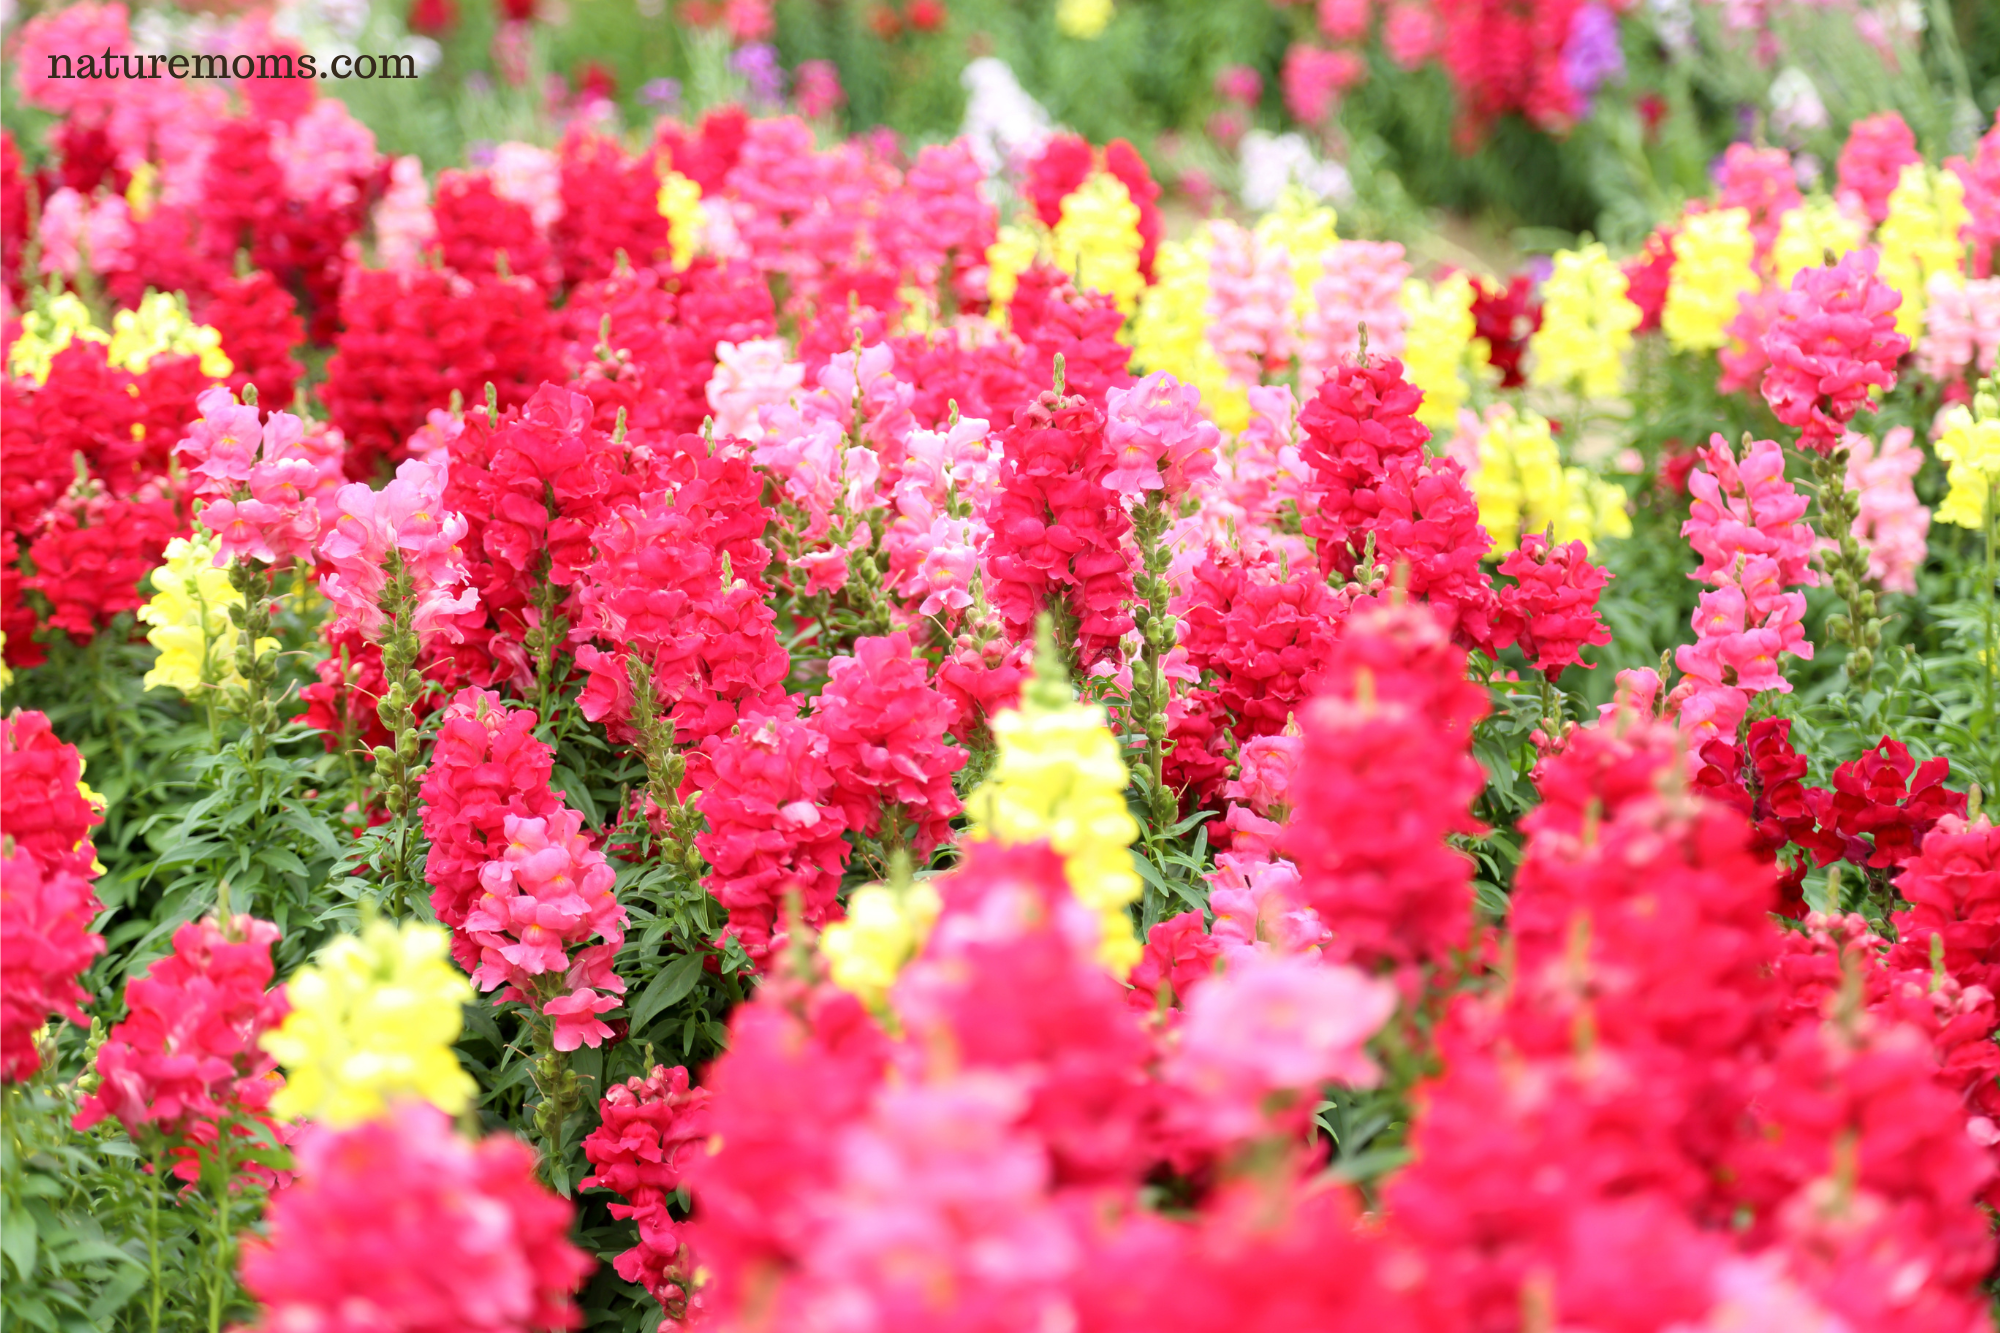
Growing Snapdragons from Seed: A Guide to Overwintering as Cool-Season Annuals
Regenerative Biodiversity at Home: Cultivating a Thriving Ecosystem in Your Backyard
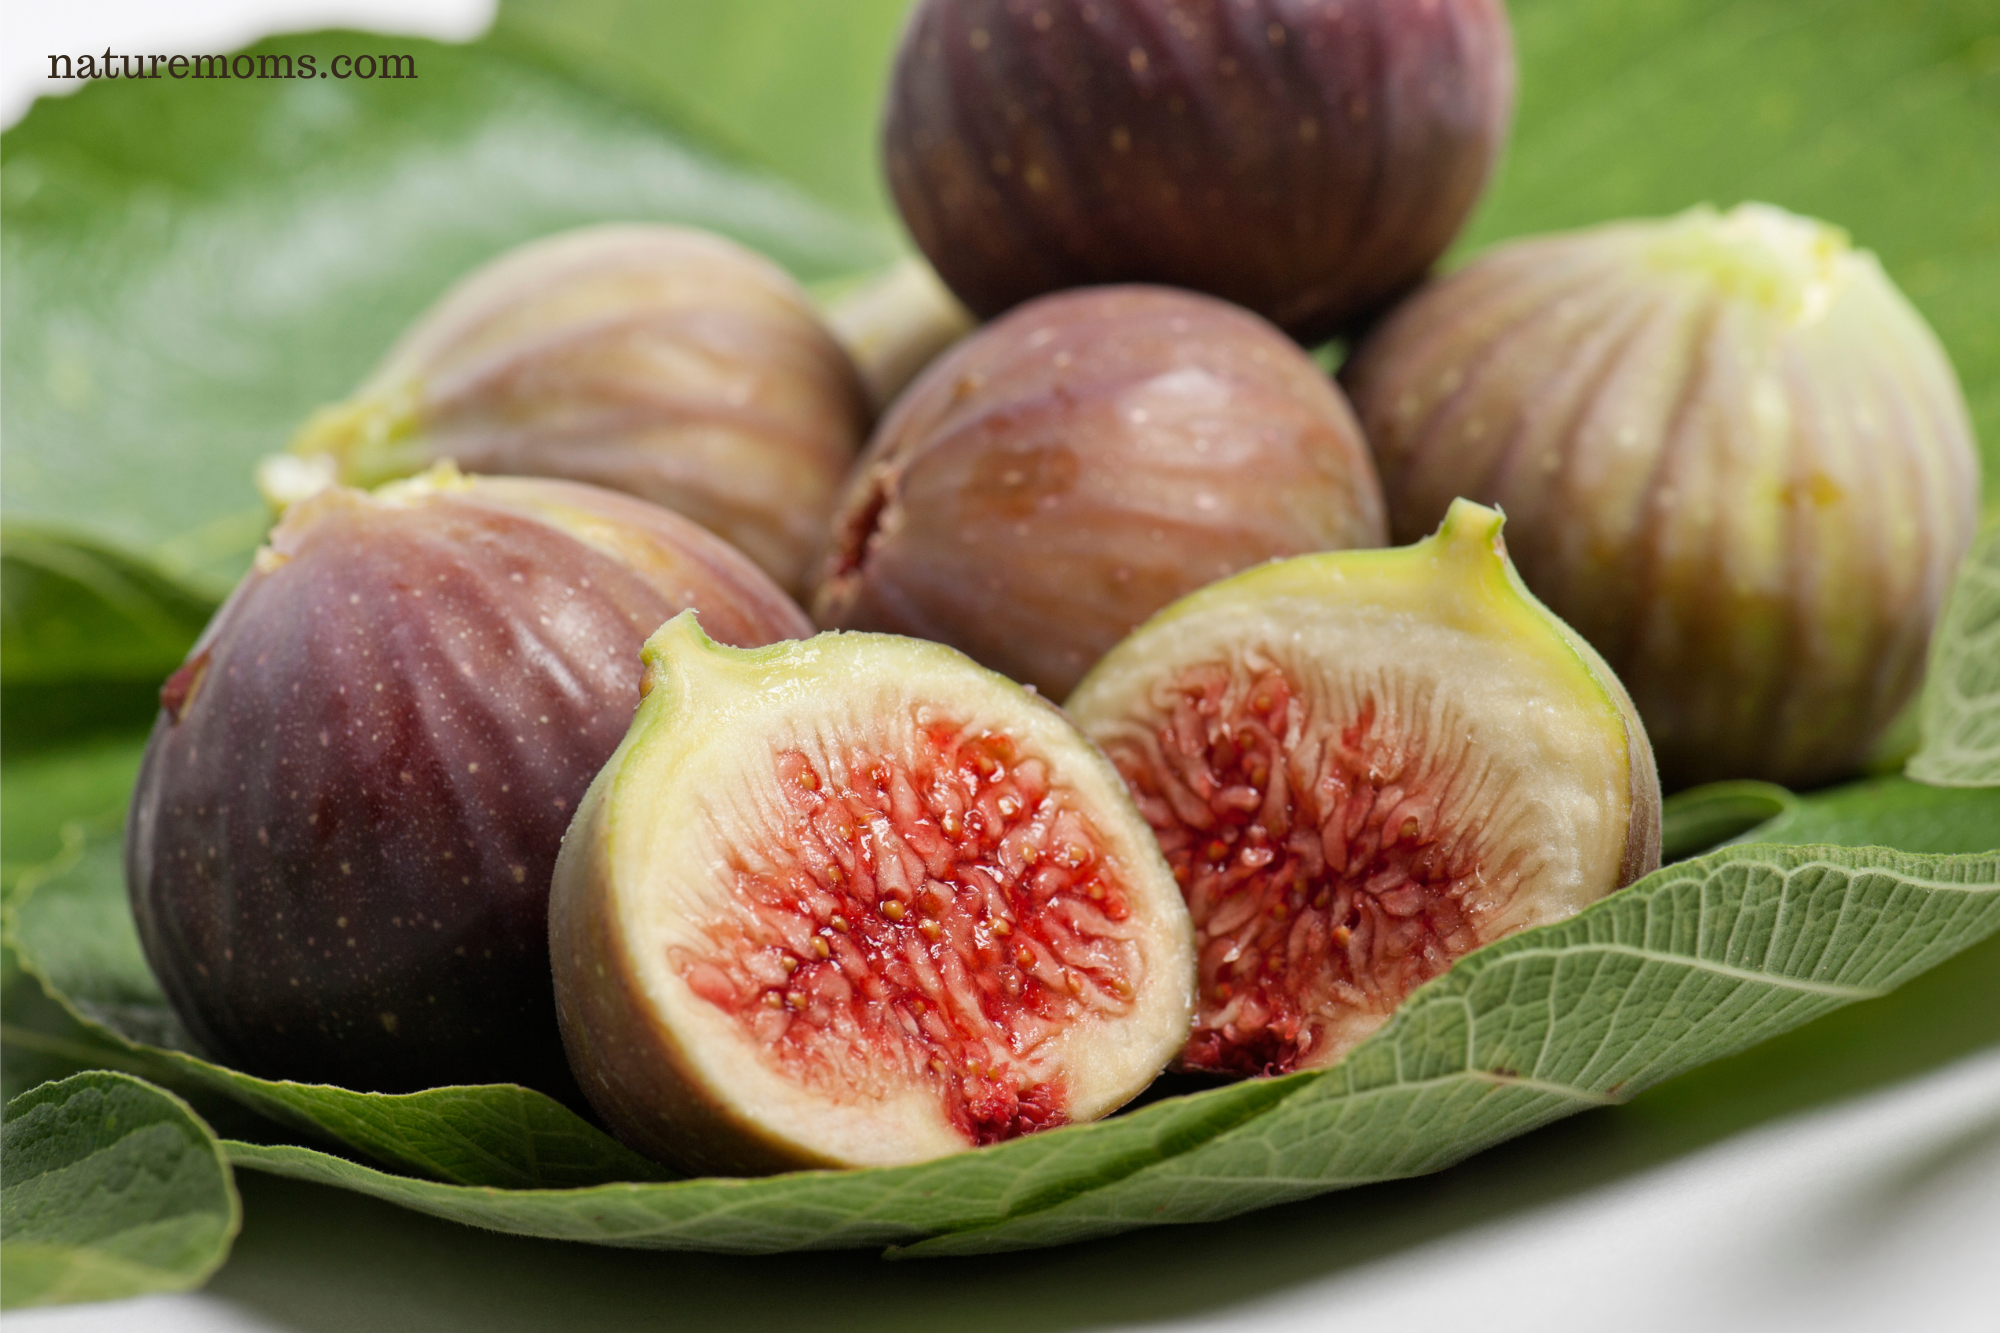
Growing Figs on Your Homestead: A Delicious and Nutrient-Rich Addition
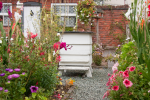
Creating Your Dream Cottage Garden: A Step-by-Step Guide
Winter Garden Projects to Tackle in the Off-Season
Self Seeding Crops You’ll Never Need to Replant
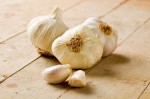
Planting Garlic in the Fall: A Step-by-Step Guide for a Bountiful Harvest
10 Flowers Seeds to Start in the Fall
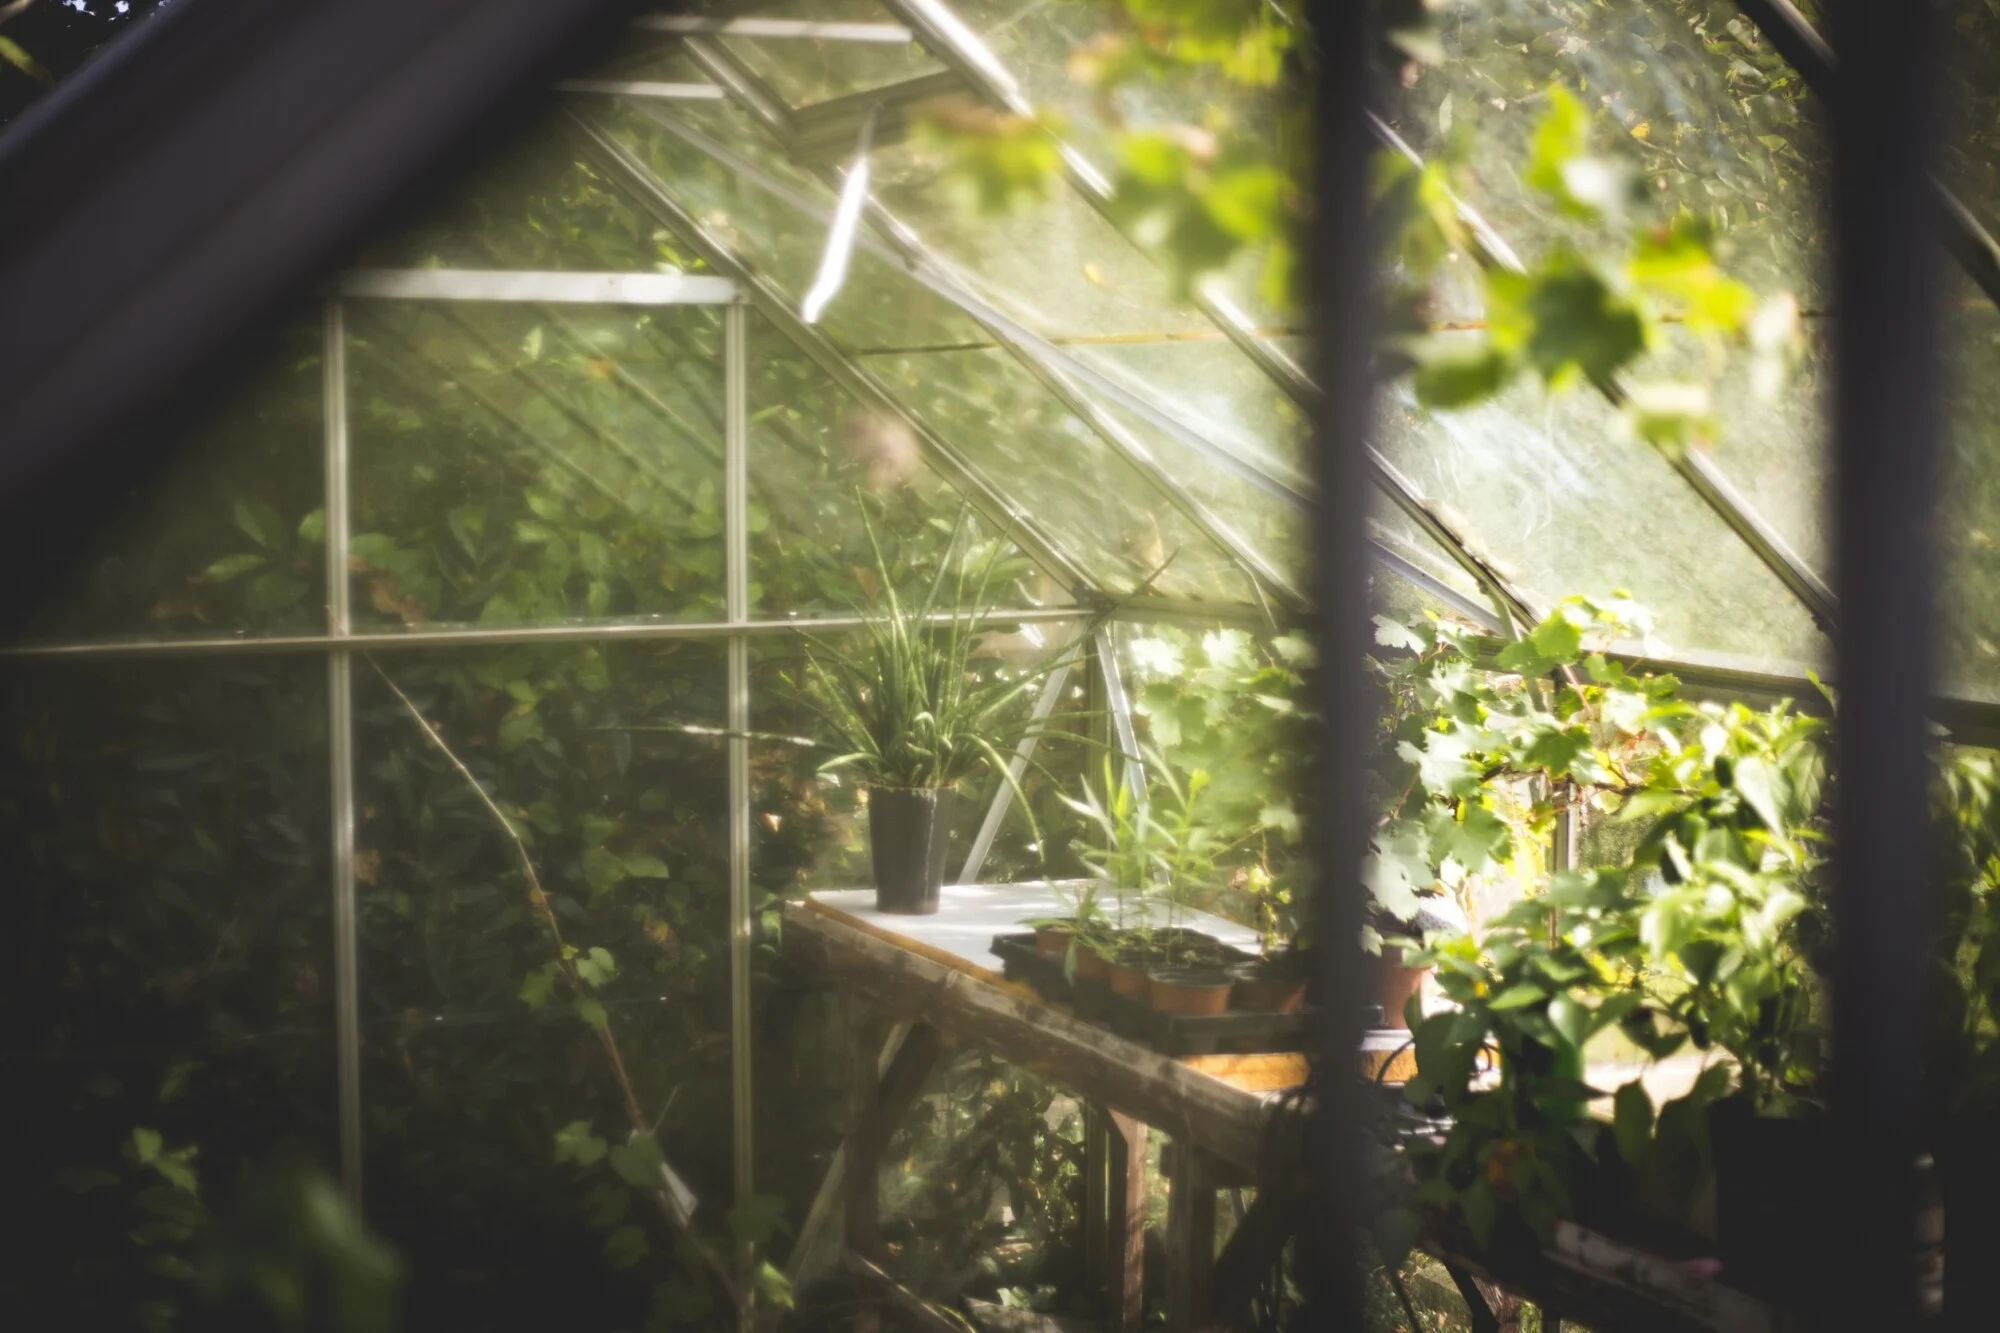
How to Build a Plexiglass Greenhouse: Your Step-by-Step Guide
Hugelkultur: Harnessing Nature’s Bounty for Sustainable Gardening
Embrace Autumn’s Beauty: 8 Cool Flowers to Start in Fall
1
2
3
…
7
Next Page »


Recent Comments